Get started with Xena
Here's a step-by-step guide to creating your user and setting up your first company in Xena.
Preparation
For the best experience, we recommend using Google Chrome as your browser. If you don't already have it installed, start by downloading and installing it.
Now remove the pop-up blocker for Xena:
Open Google Chrome.
Click the menu in the top right corner (the three dots) and select Settings
Navigate to Privacy and security
Select Site settings and then Pop-ups and redirects.
Under Allowed to send pop-ups and use redirects, click Add.
Enter the address: https://my.xena.biz and press Save.
Once this is done, you are ready to create your user and your company in Xena
Create a new user and company
Enter your email address
Choose a password
Accept the privacy policy.
Click Register.
You will receive an email with a confirmation link. If you do not receive the email, check your spam/junk folder. In Gmail, the email may be under Promotions.
Open the email and click Confirm email address.
Enter your email and password, and press Login.
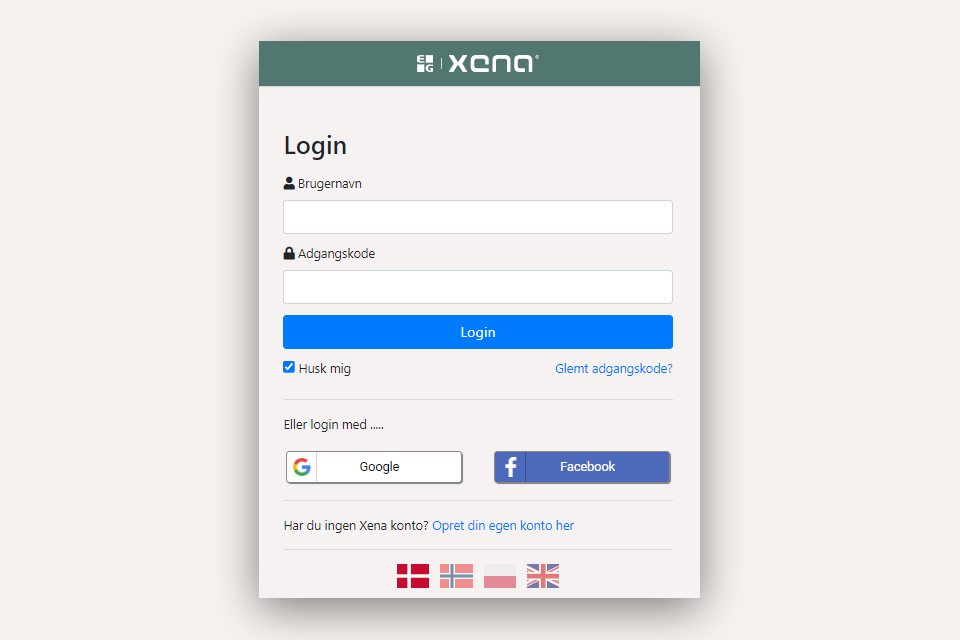
The first time you log in, you will be guided through setting up your company;
Step 1: Enter information about the company:
Select country
Enter the company's registration (CVR) number.
Select your company from the list (retrieved from virk.dk)
Enter the company's phone no. and email address
Press Next
Step 2: Choose company type:
Xena Company = basic setup
Xena Company with Project = includes apps and data for project management
Check that the currency and language are correct
Press Next
Step 3: Select the first financial year
Choose between:
Current calendar year
Manual selection of start and end date
Skip and create the financial year later
Press Next
Step 4: Review and accept:
Check that all information is correct
Read and accept the data processing agreement
Press Create company.
After a short while, the company is created, and you can start using Xena.
User profile
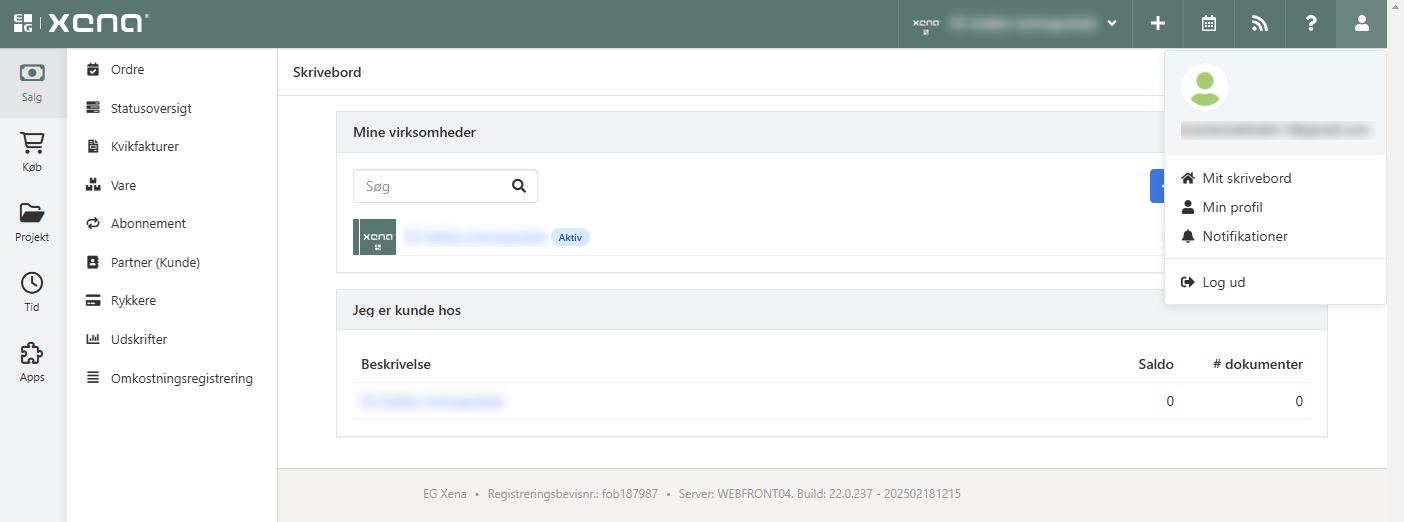
When you log in to Xena, you can, among other things, customize your user profile and see which companies you have access to.
Click the user icon in the top right corner
Select My profile
Adjust your personal settings as needed
Save Xena as a bookmark
For easy access to Xena going forward, you can save the login page as a bookmark in your browser.
Go to https://my.xena.biz
Click the star icon in the address bar in Chrome (or use the shortcut Ctrl+D).
Optionally select a folder, and give the bookmark a name, e.g. Xena.
Click Done.
⚠️ Note: You can also turn on Chrome's bookmarks bar (via the menu in the top right corner → Bookmarks → Show bookmarks bar), so you always have quick access to Xena, no matter which tab you have open.
My Xena
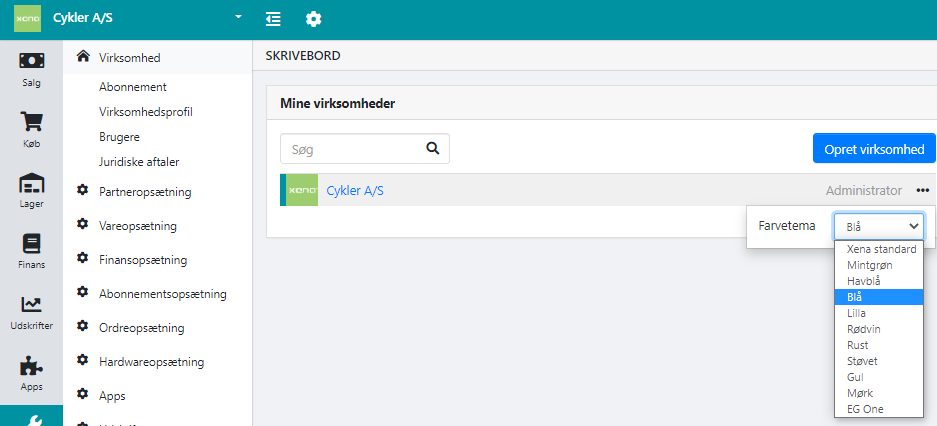
See the list of your companies under My desktop
Click the company name to switch between companies
The main menu on the left makes it easy to navigate in Xena. The menu is context-dependent, so, for example, a salesperson will primarily find the necessary functions under the Sales menu
You can change the colour theme per company to more easily tell them apart
Understand key concepts in Xena
Users: The people who have access to your company
Business: Your company. One user can have access to multiple companies
Partners: Your customers and suppliers
Item groups: Determine the division of sales, purchases, and inventory, as well as VAT code per country
Items: Everything you sell – physical products, services, or licenses
Orders: Quotes, invoices, purchases, and sales all start with creating an order
Employees: Users who are associated with your business, such as a bookkeeper or accountant
➡️ Next guide: Basic data.
- Updated